
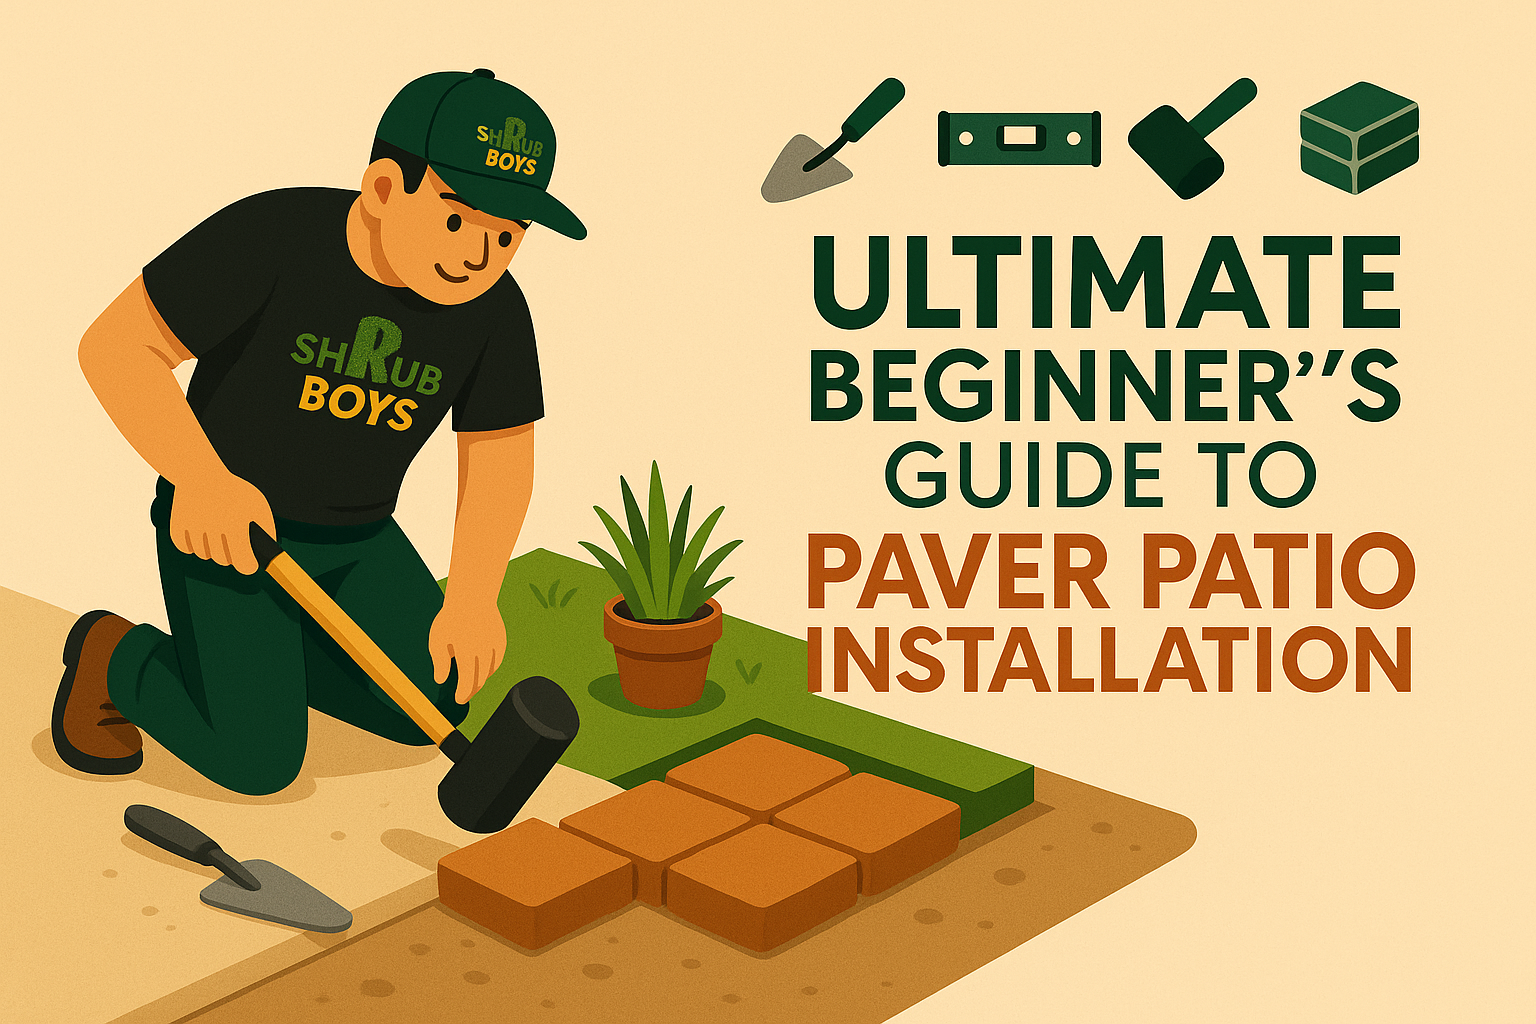
Ultimate Beginner's Guide to Paver Patio Installation
Step-by-step walkthrough for designing, prepping, and installing a durable, stylish paver patio.
Why Choose a Paver Patio? 🧱
Paver patios offer classic style, unrivaled durability, and easy repairs. Unlike poured concrete, individual pavers shift without cracking during freeze–thaw cycles. Available in countless colors, shapes, and patterns—from herringbone to basket weave—they let you customize any outdoor space. And when damage occurs, simply swap out a few pavers instead of patching an entire slab.
Step 1: Planning & Design 📐
Measure & Sketch: Draw your patio shape and measure length × width. Include any steps or curves.
Select a Pattern: Running bond, herringbone (45° or 90°), circular—each influences material count and edging.
Pick Materials: Concrete, brick, or natural stone (flagstone, travertine); consider texture, slip resistance, and color consistency.
Check Local Codes: Verify permits, drainage requirements, and HOA guidelines.
Step 2: Tools & Materials 🛠️
- Pavers: Buy 5–10% extra for cuts and breakage.
- Base Materials: Crushed stone (¾" minus) and coarse sand.
- Tools: Plate compactor, rubber mallet, level, string line & stakes, masonry saw or splitter, shovel, broom.
- Edging Restraints: Plastic or metal to lock pavers in place.
Step 3: Excavation & Base Prep ⛏️
- Excavate: Dig down 6–8" plus paver thickness; maintain a 1–2% slope away from structures for proper drainage.
- Compact Subgrade: Use the plate compactor on the soil and each layer of base rock.
- Install Base Rock: Spread crushed stone in 2–3" lifts, compacting between each until stable.
Step 4: Sand Bedding & Screeding 🏖️
Add Bedding Sand: Lay down 1–1½" of coarse concrete sand.
Screed Smooth: Place two parallel 2×4 guides and pull a straight 2×4 across to level the sand.
Check Level: Ensure the sand is within ±⅛" across the entire area.
Step 5: Laying Pavers 🎨
- Start at a Corner: Align your first paver against string lines and work outward in your chosen pattern.
- Maintain Joint Gaps: Aim for ⅛–⅜" spacing; use spacers or a tapping block for consistency.
- Cut to Fit: Score with a masonry saw or use a splitter for clean edge cuts.
Step 6: Edge Restraints & Final Compaction 🔒
Install Edge Restraints: Stake plastic or metal edging immediately to lock pavers in place.
Compact Surface: Run the plate compactor (with rubber pad) over the pavers to seat them into the sand.
Step 7: Joint Sand & Sealing 🧹
- Sweep Polymeric Sand: Fill all joints completely and compact lightly.
- Remove Excess Sand: Sweep away loose sand from the surface.
- Mist to Activate: Lightly spray water to lock the sand in place per manufacturer instructions.
- Optional Sealant: Apply a paver sealer to enrich color, resist stains, and minimize weed growth.
Maintenance Tips 🧼
- Annual Cleaning: Sweep and hose off debris; use mild detergent for stains.
- Re-sand Joints: Every 2–3 years to maintain stability.
- Inspect & Reset: Replace or re-level any sunken or cracked pavers promptly.
- Winter Care: Use non-corrosive deicers and avoid metal shovels on the surface.