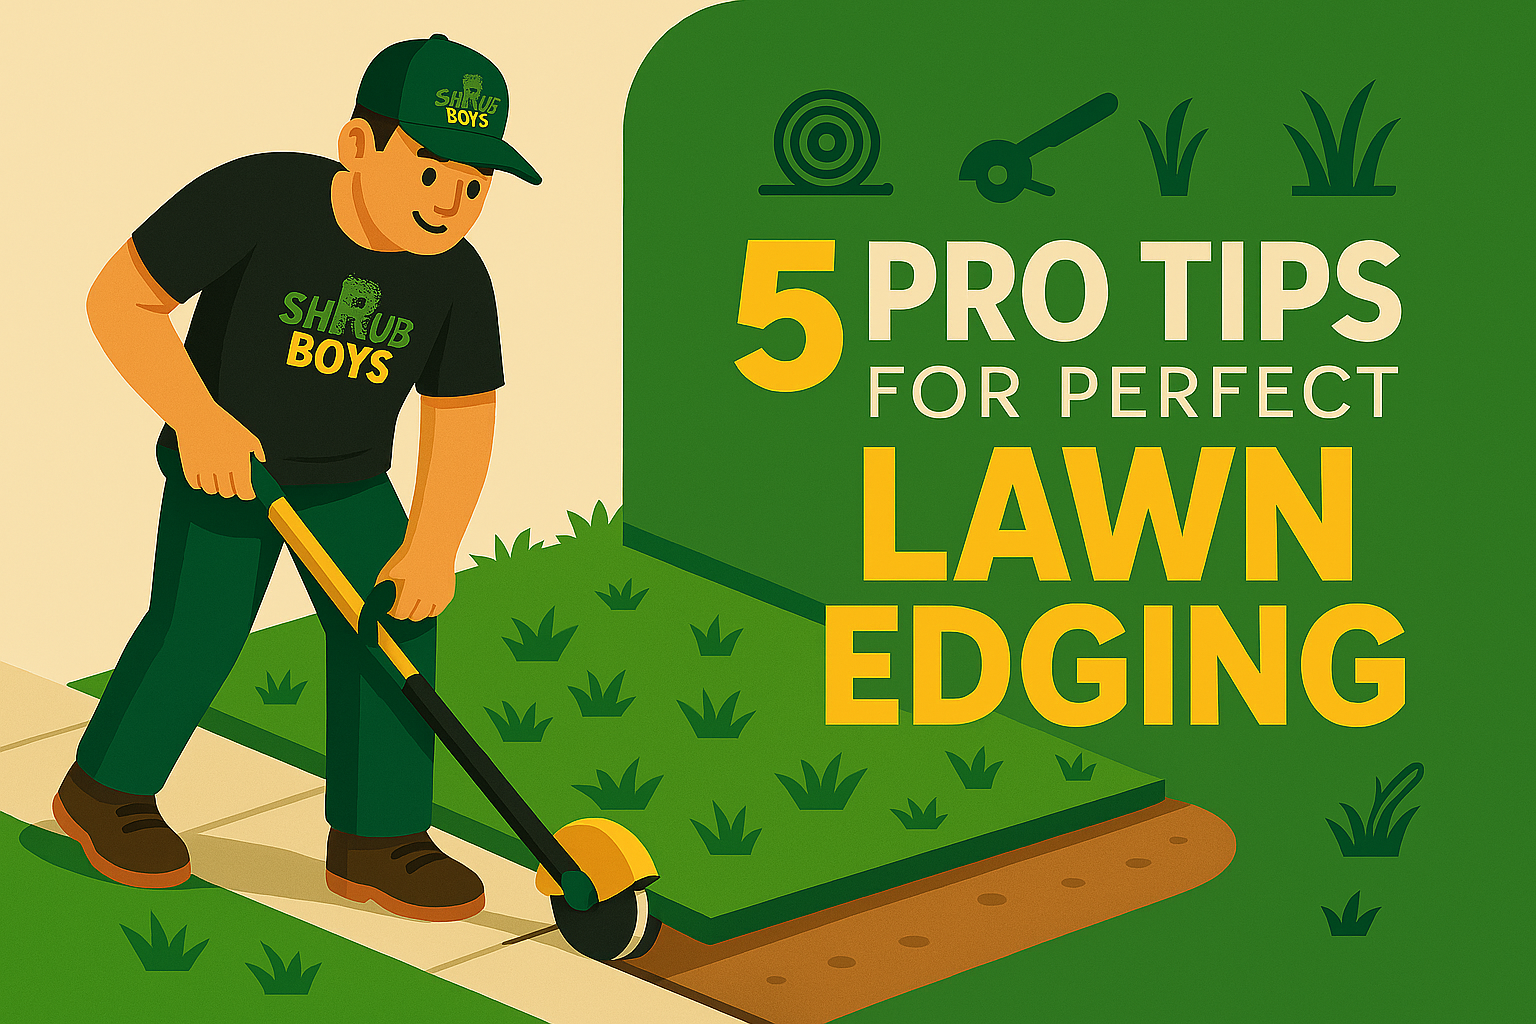
5 Pro Tips for Perfect Lawn Edging
Master the art of lawn edging with expert techniques for crisp, clean lines and a magazine-ready yard.

Why Lawn Edging Transforms Your Landscape
Definition: Lawn edging is much more than a finishing touch—it's the hallmark of a professionally maintained yard.
Benefits: By creating a crisp boundary between turf and garden beds, pathways, or driveways, edging instantly elevates curb appeal and adds architectural definition to your landscape.
Function: Beyond aesthetics, a well-made edge prevents grass from overgrowing into plant beds, reduces soil erosion along borders, and makes mowing significantly easier by giving you a precise boundary to follow.
In this guide, we'll share five pro-level techniques—complete with tool recommendations, planning tips, and maintenance strategies—to help you achieve magazine-worthy edges that last all season.
1. Select the Right Edging Tool
Choosing the right tool depends on your yard's size and shape:
- Manual Edgers (Spade or Half-Moon): Ideal for small yards and curved borders—offers supreme control but requires more physical effort.
- Power Edgers (Gas or Electric): Perfect for larger properties and long straight runs. Look for adjustable blade widths (4–7 inches) and depth settings.
- Edging Attachments: Many string trimmers or multi-tool systems can accept a dedicated edging blade—great if you already own compatible equipment.
Tip: Keep all blades razor-sharp. A dull blade tears grass and leaves ragged edges; a sharp blade cuts cleanly, reducing turf stress and delivering that crisp, professional line.
2. Plan & Mark Your Border
Proper planning is the cornerstone of a flawless edge. Follow these steps before digging:
- Layout: Use stakes and twine for straight runs; lay a garden hose on the ground to visualize curves.
- Mark: Spray chalk paint along your outline to give you a clear cutting guide.
- Check Utilities: Always call 811 before digging to avoid hidden cables, pipes, or irrigation lines.
Power-edger models with guide wheels can snap into your chalk line—saving time and creating perfectly uniform trenches.
3. Master the Cutting Technique
- Angle & Depth: Tilt the blade at a 45° angle toward the turf and cut 2–3 inches to sever roots and form a lasting barrier.
- Pace Yourself: Move at a steady, deliberate speed—rushing creates uneven edges and ragged cuts.
- Finish with a Shovel: Use the flat side of a shovel to knock back the soil lip, creating a smooth, vertical face.
4. Clean Up & Dress Your Edges
- Remove Debris: Scoop out loosened soil, grass clumps, and roots immediately to keep your edge crisp.
- Backfill & Stabilize: Add a small amount of fresh topsoil or decorative rock along the trench to prevent collapse and erosion.
- Mulch or Stone Borders: Apply 2–3 inches of mulch or decorative stones to highlight your new line and suppress weeds.
A quick misting of water after cleanup will help settle materials and lock in all your hard work.
5. Incorporate Simple Maintenance
- Spring–Summer (Every 4–6 Weeks): Run an edger lightly along the existing trench—no need for a full-depth cut— then clear debris and re-backfill.
- Early Spring: Perform a full-depth cut to renew definition after winter frost heaving.
- Early Autumn: Edge once more to clear fallen debris before the cold weather arrives.
